Car brake testing is the process of evaluating a vehicle's braking system to ensure it is functioning correctly and safely.
This process involves inspecting and testing various components of the braking system, including the brake pads, discs, drums and hydraulic systems, to detect any issues that could affect the vehicle's ability to stop efficiently.
Regular brake testing is vital for ensuring your vehicle's safety and performance. By checking and maintaining the braking system, you can prevent potential accidents and extend the lifespan of your brake components.
Brake testing can be performed during regular vehicle maintenance, a service, as part of an MOT test, or whenever there are signs of brake problems.
Components of the Braking System:
-
Brake Pads and Shoes: These components press against the brake discs (rotors) or drums to create the friction needed to slow down or stop the vehicle.
-
Brake Discs and Drums: These are the surfaces that the brake pads or shoes contact to create friction.
-
Brake Callipers: These components house the brake pads and use hydraulic pressure to press them against the brake discs.
-
Brake Fluid: This hydraulic fluid transfers the force from the brake pedal to the brake callipers.
-
Brake Lines: These are the hoses and tubes that carry brake fluid from the master cylinder to the brakes at each wheel.
The Brake Testing Process:
-
Visual Inspection:
-
The technician inspects the brake pads, discs, drums, and other components for wear, damage, or contamination.
-
They check for leaks in the brake lines and around the brake callipers.
-
The brake fluid is also examined to ensure it is clean and at the proper level.
-
Measuring Brake Pad and Disc Thickness:
-
The thickness of the brake pads and discs is measured to determine if they need to be replaced. Worn-out brake pads or discs can compromise braking efficiency and safety.
-
Checking Brake Disc and Drum Condition:
-
The brake discs and drums are inspected for signs of warping, scoring, or excessive wear – they must be in good condition to ensure effective braking.
-
Testing Brake Fluid:
-
The brake fluid is tested for moisture content and contamination. Old or contaminated brake fluid can reduce braking performance and cause damage to brake components.
-
Hydraulic System Check:
-
The hydraulic system is checked for proper operation. This includes testing the master cylinder, brake lines, and callipers for leaks and ensuring the system maintains pressure.
-
Brake Performance Test:
-
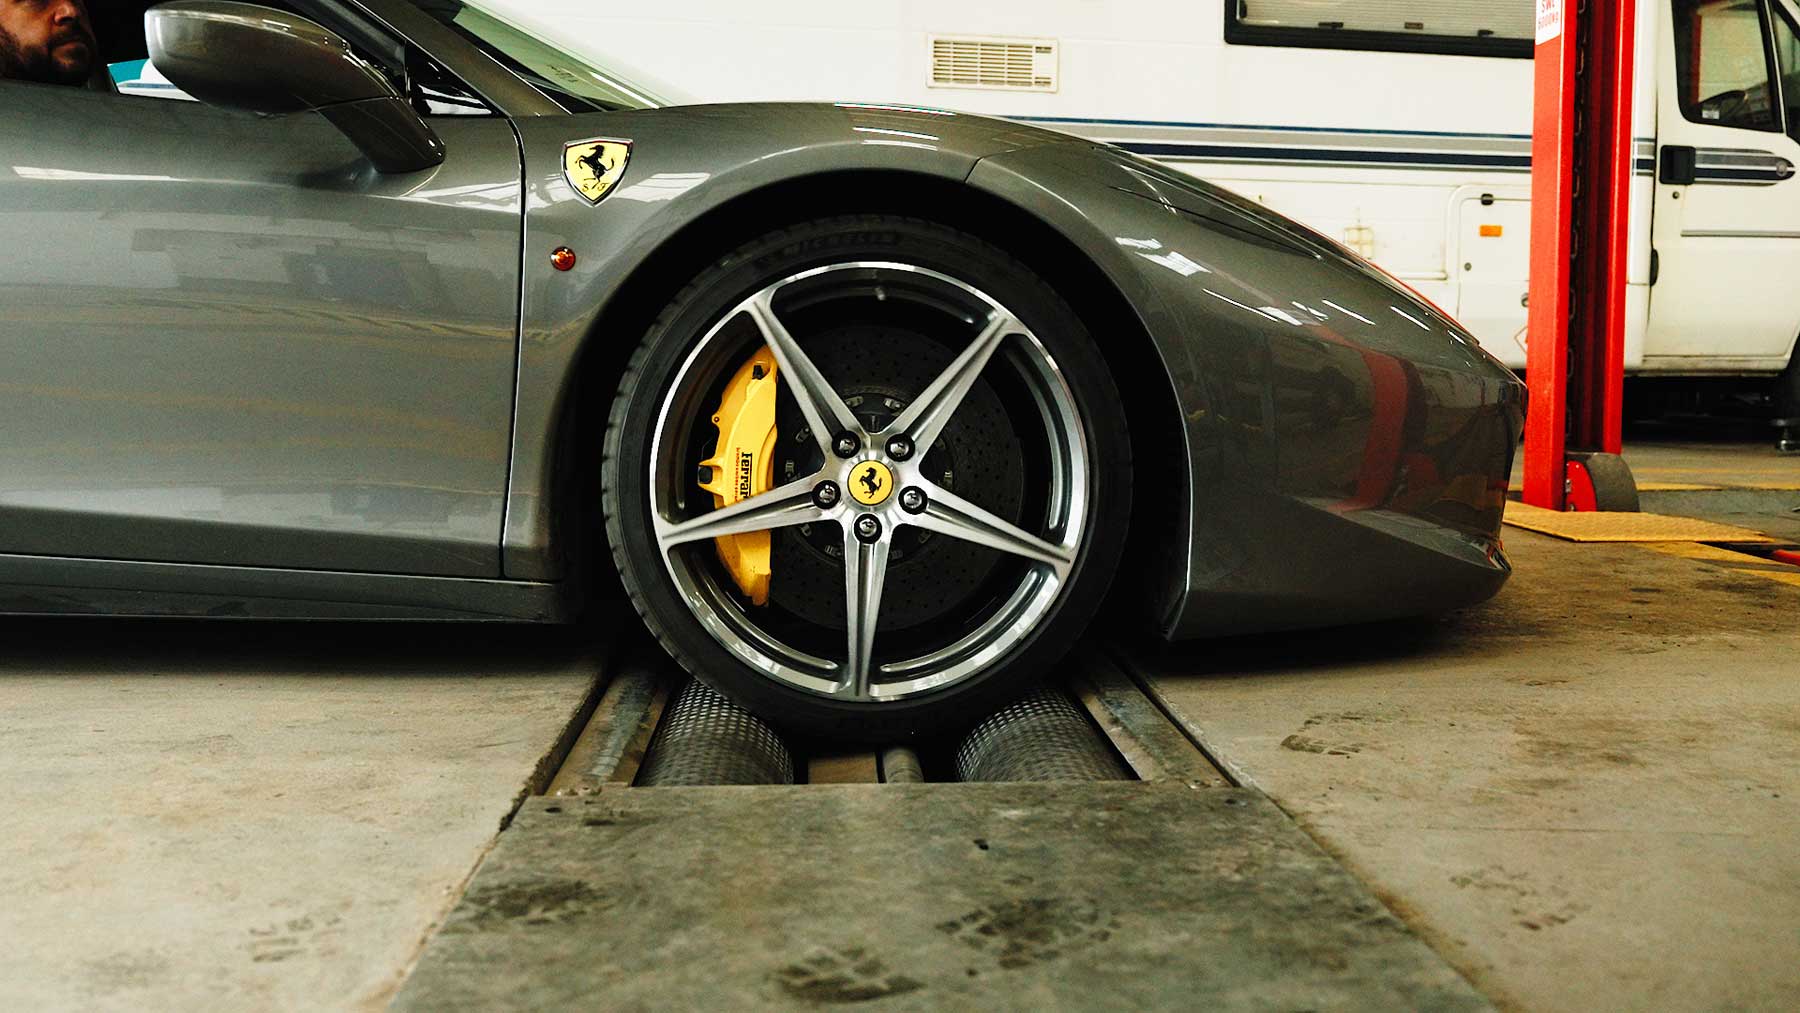
A brake performance test may be conducted using a brake testing machine to measure the braking force at each wheel, as well as evaluating the balance and efficiency of the braking system.
-
During an MOT test, a rolling road brake tester is often used to simulate braking and measure the performance of each wheel's brakes.
Signs Your Brakes Need Testing:
-
Squealing or Grinding Noises: Unusual noises when braking can indicate worn brake pads or other issues.
-
Reduced Braking Efficiency: If the vehicle takes longer to stop or the brakes feel less responsive, it’s time for a brake check.
-
Vibrations: If you feel vibrations or pulsations through the brake pedal, it could indicate warped brake discs or other problems.
-
Brake Warning Light: If the brake warning light on your dashboard is illuminated, your braking system needs immediate attention.
-
Spongy or Soft Brake Pedal: If the brake pedal feels soft or spongy when pressed, there could be air in the brake lines or a problem with the hydraulic system.
At WG Davies we offer practical solutions for all your vehicle needs. For more information or to book brake testing please call us on 01792 795705 and speak to a member of our team. Alternately send an email to info@wgdaviesmot.com.